Download the AimBetter Agent
Download the “AimBetter_Agent.zip” to the Agent Server from this URL:
https://update.aimbetter.com/Aimbetter_Agent.zipThe Agent Server where the AimBetter Agent is installed must be a Windows OS server with the following requirements:
| System Requirements | Network Configurations |
| – Microsoft Windows 7 (32-bit and 64-bit) or later/ Microsoft Windows Server 2008 R2 (64-bit) or later – 2 GHz Pentium 4 Core CPU – 1GB RAM Memory – 200 MB free hard disk space on a local drive – Latest .NET is recommended (minimum .NET 4.0) |
– TLS 1.2 must be enabled (in most cases, it is enabled by default) – Allow outbound traffic through Port 443 to https://api.aimbetter.com/ * – If using a Proxy server, add Proxy Configuration during the installation. – If your organization uses a firewall that restricts traffic, check the network firewall configurations. |
Open the Installation file and run it.
Ensure that the user running the “Aimbetter_Agent.zip” program has Administrator credentials.
AimBetter Configuration Program
Notice: If you have this program installed, search for “AimBetter Configuration” in the search box and open it.
After running the “Aimbetter_Agent.zip” program, the AimBetter Configuration window will be opened.
Click on Activate your account.
Enter the License Key and Identifier you received via email or copied during the sign-up.
Choose one of the following:
Local System Account – if you install the AimBetter Agent on the Windows server you want to monitor. If you’re going to monitor a Linux or cloud server, you can also select this option.
This Account – in case you are installing the AimBetter Agent in a different server than the Windows server you intend to monitor (the Agent Server and the Monitored Server are not the same). In this case, use the credentials of a domain user with Administrator privileges or with Windows OS minimal permissions (check how to create a Windows OS user with minimal required permissions). For a non-domain network, make sure that the user has a local Windows OS user in both Agent and Monitored servers with the same username and password.
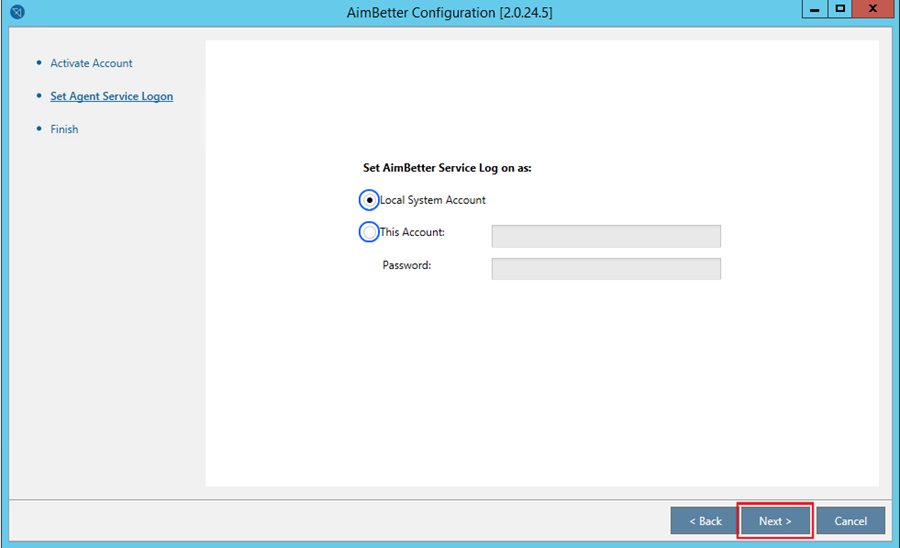
You can choose Local System Account and change it later to This account by clicking on the settings icon in the AimBetter Configuration.
*After any change, restart the AimBetter Agent service.
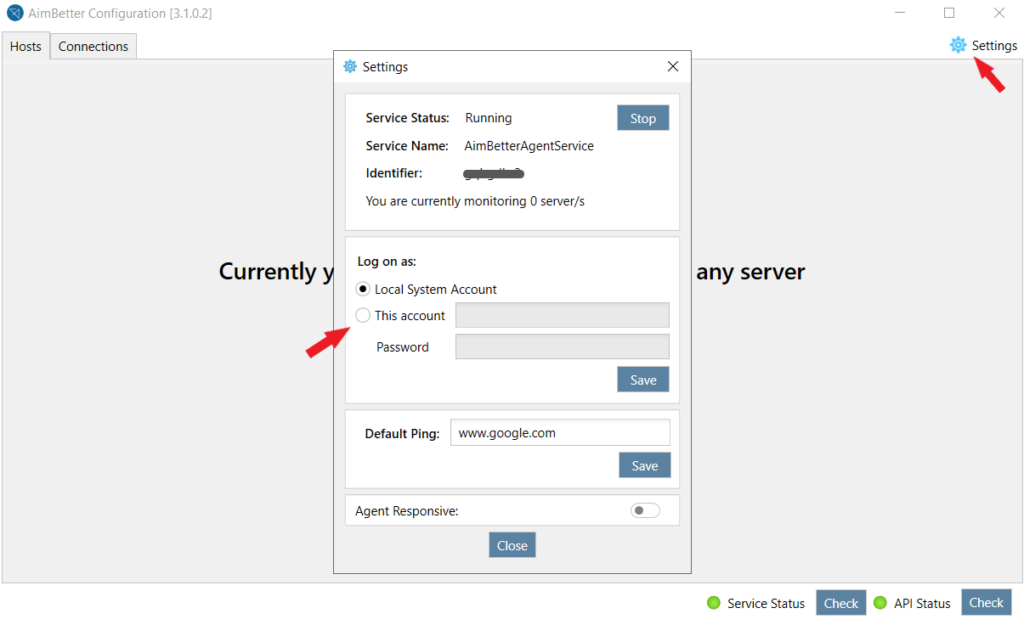
The AimBetter Agent service must be running in automatic mode.
Wait until you see the message “You have completed your account activation successfully“, and then click on Next.
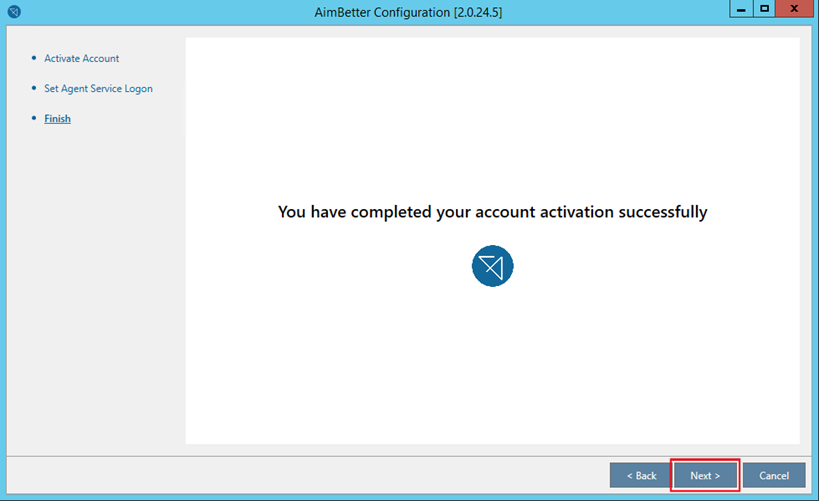
If you don’t receive the above message, check your License Key and Identifier and make sure that Port 433 is open.
Note about License Key:
- You’ll receive a license key after Signup
- If your company already has an account, contact the AimBetter sales team at [email protected].
If you face any issues during the installation, check the installation troubleshooting.
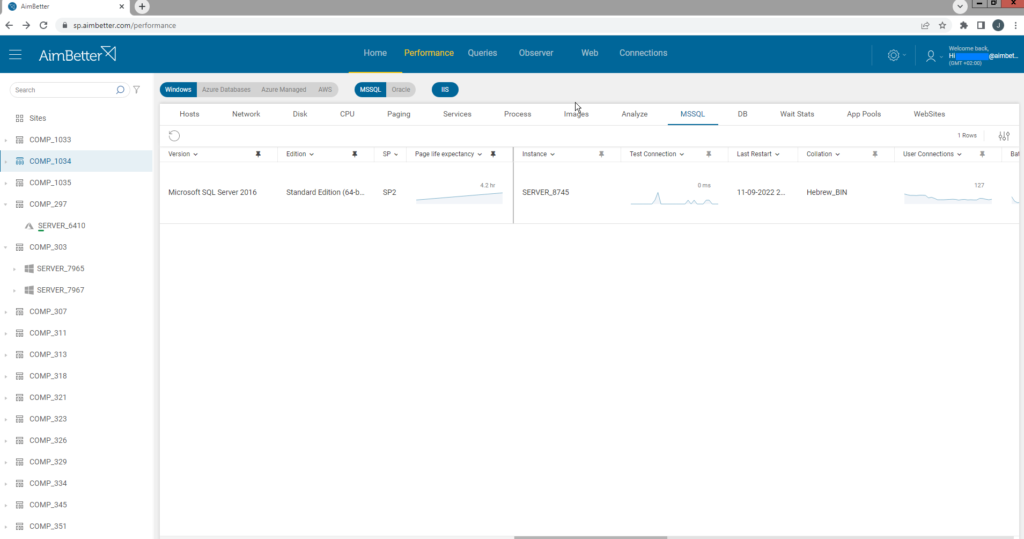
Monitored Server Configuration
Proceed to the monitored server configuration.